The All-Natural Guide to Making Your Own Candles: From Beeswax to Botanical Bliss
The warm glow and inviting fragrance of a burning candle can instantly transform a space, creating a mood of relaxation, romance, or pure comfort. In this candle making class we want you to consider the origin of those beautiful candles? Many commercially available candles are made with paraffin wax, a petroleum-based product. While it’s effective, paraffin wax candles can emit harmful toxins when burned.
The good news is that you can create your own luxurious and natural candles using safe, sustainable ingredients! This candle making class will equip you with all the knowledge you need to become a natural candle-making extraordinaire.
A Journey Through Natural Waxes
The foundation of a natural candle is its wax. Choosing the right wax will influence your candle’s appearance, burning characteristics, and even scent throw (the strength of the fragrance). Here’s a closer look at some popular natural waxes:
-
Beeswax: A classic and luxurious choice, beeswax boasts a beautiful golden color and a naturally sweet honey scent. It burns clean and slow, lasting longer than many other waxes. However, beeswax can be a bit more expensive and may not hold fragrance oils as well as some other options.
-
Soy Wax: A plant-based alternative derived from soybeans, soy wax is a popular choice for its affordability, ease of use, and clean burning properties. It holds fragrance oils well and comes in a variety of flake or bead forms for easy measuring. However, soy wax can sometimes develop a frosted appearance on the surface as the candle cures.
-
Coconut Wax: Made from the oil of coconuts, coconut wax offers a creamy white color and a clean, long-lasting burn. It also has excellent fragrance throw. The downside? Coconut wax can be a bit softer than other waxes and may require a specific blend of wax additives to achieve the desired firmness for container candles.
-
Bayberry Wax: A traditional wax used by colonists, bayberry wax has a unique, slightly sweet, and somewhat spicy aroma. It burns clean and slow, but it’s a more challenging wax to find and can be more expensive than other options.
Beyond the Basics: Exploring Additional Wax Options
While the above waxes are popular choices, the world of natural candle making offers a few other interesting options:
- Palm Wax: Derived from palm trees, palm wax offers a clean burn and good fragrance throw. However, there are environmental concerns regarding palm oil production, so some crafters avoid it.
- Rice Bran Wax: A relatively new option, rice bran wax is a byproduct of rice milling and offers a clean burn and good fragrance throw. It’s a great choice for those seeking a sustainable alternative.

Understanding Your Ingredients: A Breakdown
Now that you’ve explored the world of natural waxes, let’s delve into the other key ingredients that will bring your candle to life:
-
Wicks: The wick is the essential element that draws melted wax up and allows the candle to burn. Wicks come in various sizes and materials. A wick that’s too small won’t melt enough wax, resulting in a weak flame, poor fragrance throw, and tunneling (wax melting down the center, leaving wax unmelted around the edges). On the other hand, a wick that’s too large can cause the candle to burn too hot, leading to excessive smoke, dripping, and potential fire hazards. Generally, softer waxes like soy or coconut wax require a slightly smaller wick compared to a harder wax like beeswax. Stronger fragrances may require a slightly larger wick to ensure a good fragrance throw and the diameter and depth of your candle container plays a significant role. A wider container will require a larger wick to melt enough wax to create a full melt pool across the surface of the candle. Use these general rules to pick out the wick for your candle.
-
Fragrance Oils: These concentrated oils add a delightful scent to your candles. When selecting essential oils, make sure they are labeled as safe for candle making, as some essential oils can have a negative impact on burn performance or even be hazardous when burned. Fragrance oils specifically designed for candles are a good option for beginners.
-
Additives: Certain additives can enhance the performance and appearance of your candles. For example, soy wax flakes tend to shrink as they cool, leaving a gap at the top of the jar. A wax additive can help minimize this shrinkage. Other additives can influence the hardness of the wax, improve fragrance throw, or create a glossy finish. Here are the top five additives and why to use them.
1. Stearic Acid
- Why: Hardens wax (especially softer waxes like soy or coconut). This can improve hot throw (scent dispersal while the candle is lit), increase opacity, and help candles hold their shape in warmer temperatures.
- Considerations: Use a small amount, typically 1-3% by weight. Too much can make candles brittle or give them a mottled appearance.
2. Vybar
- Why: These polymers are used to improve fragrance retention, hardness, and opacity (especially in soy wax). Popular Vybar types include Vybar 103 and Vybar 260.
- Considerations: Vybar is designed specifically for enhancing the properties of paraffin wax, but it also works well for many natural waxes. Each type has different ideal usage percentages.
3. Universal Soy Additive (USA) or Other Similar Additives
- Why: These pre-blended additives generally contain a combination of stearic acid, Vybar, and sometimes other ingredients. They are designed specifically for soy wax and address issues like frosting, fragrance retention, and shrinkage.
- Considerations Convenient for beginners as you don’t need to measure multiple additives separately. Follow the recommended usage percentage for the specific brand.
4. Microcrystalline Wax
- Why: Increases opacity, reduces or eliminates frosting, increases fragrance load, and can harden softer waxes.
- Considerations: It makes wax more flexible. Too much will make your candle bendy or prevent it from releasing fragrance effectively.
5. UV Stabilizer
- Why: Prevents discoloration of your candles caused by exposure to sunlight or fluorescent lighting. This is particularly important if using lighter colored wax or if your candles will be displayed in brightly lit areas.
- Considerations: It won’t completely prevent fading, but it will dramatically slow the process.

The Allure of Natural Candles: Advantages and Considerations
There are many compelling reasons to choose natural waxes for your candle-making endeavors:
-
Natural and Sustainable: Natural waxes are derived from renewable resources, making them an eco-friendly choice. Soy wax and coconut wax are particularly popular for their sustainability.
-
Clean Burning: Unlike paraffin wax, natural waxes generally burn cleaner, releasing fewer toxins into the air. This is especially beneficial for those with allergies or sensitivities.
-
Unique Aesthetics: Natural waxes often have a beautiful, creamy appearance, adding to the overall aesthetic of your candle. Beeswax, for example, boasts a naturally golden color, while soy wax offers a clean, white finish.
-
Aromatherapy Benefits: When combined with essential oils, natural candles can provide aromatherapy benefits. Certain essential oils are known to promote relaxation, relieve stress, or even improve sleep quality.
However, natural waxes also have a few considerations to keep in mind:
-
Cost: Natural waxes can be slightly more expensive than paraffin wax, especially those like beeswax and bayberry wax.
-
Consistency: Natural waxes can sometimes be more prone to frosting (a harmless, crystallized appearance on the surface of the candle). This doesn’t affect the burn, but some people find it visually less appealing. You can minimize frosting with careful temperature control during the pouring process.
-
Fragrance Sensitivity: If strong scents bother you, natural waxes may naturally hold less fragrance oil, resulting in a lighter scent throw when compared to some paraffin candles.
Candle Making Class: A Step-by-Step Guide
Let’s turn theory into practice! Here’s how to create your very own natural candle:
-
Gather Your Supplies: Make sure you have everything you need: natural wax flakes or beads, wicks, containers (glass jars, tins, or heat-safe ceramic vessels), fragrance oils (optional), double boiler or heat-safe pot and glass bowl, thermometer, popsicle sticks or chopsticks and measuring equipment.
-
Measure and Melt the Wax: Calculate the amount of wax you need for your container(s) and double it (wax shrinks as it cools). Gently melt your chosen wax in a double boiler over medium-low heat until it reaches the recommended temperature for your specific wax type.
-
Add Fragrance (Optional): Once the wax is melted and you’ve removed it from the heat source, you may add your fragrance oil. Start with a small amount and gradually add more until you reach the desired intensity.
-
Prepare Your Containers: Center the wick in your container. You can use a small dab of melted wax to adhere the metal tab of the wick to the bottom of the jar. Secure the top end of the wick with a popsicle stick or chopsticks resting across the top of your container.
-
Pour the Wax: Carefully pour the melted wax into your prepared containers. For a smooth, level surface, pour slowly and steadily. Leave some space at the top of the container to allow for expansion as the wax cools.
-
The Curing Process: Let your candles cool and solidify undisturbed at room temperature. This process can take anywhere from a few hours to overnight, depending on the size of your candle and the type of wax you used. Resist the urge to touch or move your candles while they cure as this can affect the cure process and cause imperfections.
-
Trim the Wick: Once your candles have fully set, trim the wick to about ¼ inch before your first burn.
Expert Tips for Elevating Your Candle Creations
Now that you’ve mastered the basics, here are a few tips to take your candle-making to the next level:
-
Temperature is Key: Use a thermometer to carefully monitor the wax temperature during melting and pouring for optimal results and fragrance diffusion. Below is a general guide to the recommended melting temperatures for common natural waxes. It’s important to note that these are approximate ranges, and you should always refer to the specific guidelines for your chosen wax from your supplier:
-
Beeswax: 145 – 155°F (63 – 68°C) – Beeswax has a higher melting point and should not be overheated as it can discolor.
-
Soy Wax: 150 – 180°F (65 – 82°C) – Soy wax is quite forgiving and has a broader melting range.
-
Coconut Wax: 130- 150°F (54 – 65°C) – Coconut wax benefits from being melted at lower temperatures to avoid discoloration.
-
Bayberry Wax: 135 – 150°F (57 – 65°C) – Since bayberry is a harder wax, it should be melted slowly at lower temperatures.
-
-
Blending Wonders: Experiment with blending different types of natural waxes to create unique textures and improve overall performance.
-
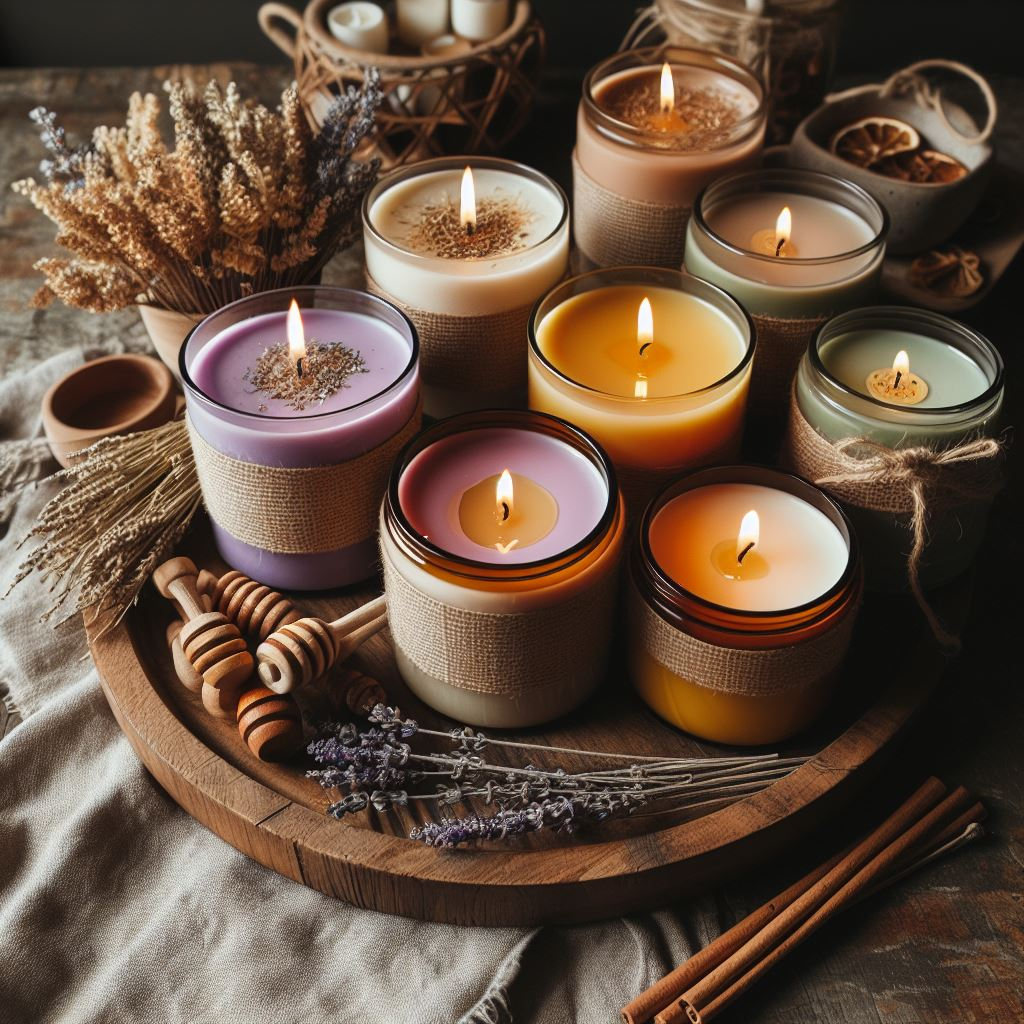
Botanical Beauty: Add a touch of elegance by incorporating dried flowers, herbs, or spices to the top of your cooling candles. Get creative, but remember to use dried materials and keep anything potentially flammable well away from the wick.
-
Gifting with Love: Homemade candles make thoughtful and personalized gifts. Decorate your jars with twine, ribbons, or custom labels for a special touch.

Troubleshooting Common Issues
Like any craft, candle-making can sometimes present a few challenges. Here’s how to deal with the most common hiccups:
-
Rough or pitted tops: This can happen due to the wax cooling too quickly or unevenly. To minimize this issue, try pouring your candles at a slightly lower temperature and avoid drafts or sudden temperature changes.
-
Poor scent throw: If the fragrance in your candles is too subtle, try adding a slightly higher percentage of fragrance oil. Also, make sure you’re using fragrance oils specifically designed for candle making.
-
Sinkholes around the wick: This is caused by wax shrinking as it cools. To prevent this, reheat the top of the candle with a heat gun or hair dryer and gently add a bit more melted wax to fill the gap.
Embracing the Joy of Natural Candle-Making
The art of crafting your own natural candles is a rewarding and creatively satisfying experience. Not only will you fill your home with beautiful fragrances and a serene ambiance, but you’ll also have the peace of mind knowing your candles are made with clean, sustainable ingredients.
If you liked this I have an article all about natural soap that I believe you will like. Check it out here Best Natural Soap.